Showing posts with label easy. Show all posts

Monday, March 11, 2019

Team Mama Idea: Oreo Cookie Basketballs

Coach Hubby is coaching No. 3's basketball team this Winter. We don't have the tallest or most talented team, but this group of 10 year olds has been playing their hearts out week after week. So much so that Saturday's game was for a spot in next week's championship game!


We got off to a slow start putting us behind by 16 points early on. Our boys continued to push through though and got it within 5 points with just under a minute to go in the fourth quarter. Unfortunately, we committed a foul (we were in the bonus) and missed all of our shots. Ugh! Such a heartbreaker.


To brighten sweeten up the rest of their day, I made these fun Oreo cookie basketballs.


Seriously, how fun are they?! They were easy, quick, and yummy. Right up my alley! They'd be perfect for birthdays, end of season parties, March Madness, or even post-game snacks.


Want to make them yourself? Then just keep on reading!


All you need:


  • Oreos (I used double stuffed but regular would work too. As would golden Oreos!)
  • Orange candy melts
  • Black cookie icing (it will set, making the cookies stackable)


That's it. Literally only three ingredients!


All you do:


  • Melt candies according to directions on packaging (you should end up with a smooth, lump free consistency).


  • Dip your Oreos, one by one, in the candy melts and place them on a wax paper lined cookie sheet. Be sure to completely cover both sides.


  • Place the cookie sheet in the fridge for about 10-15 minutes, until the candy melts set/harden.
  • Once the cookies are completely set, begin drawing on the lines using the black icing. Start with a straight line down the center, followed by two curved lines on each side, and finally a horizontal one across the middle.


  • Place the cookies back in the fridge for about 25 minutes to allow the lines to set.
  • Remove the cookies. ENJOY! (Store cookies in a Ziploc bag. They should last for a couple of weeks. But let's be honest, when do cookies ever last that long?!)


That's it! Easy, peasy, huh?

For more fun, basketball themed treat ideas be sure to click HERE!


Friday, June 1, 2018

Team Mama Idea: Super Easy Soccer Cupcakes

Tomorrow is No. 2's last soccer game of the season. Which according to every single meteorologist will be played in the rain, again. Yep, I checked them all. I seriously can't remember the last time we had a dry weekend. Ugh!


After the game, we will celebrate with a team pizza party. And if you know anything about this Sports Mama, you know I couldn't help but volunteer to bring cupcakes. And not just any cupcakes, but soccer cupcakes of course!


These soccer cupcakes were easy, I mean super easy, to make. Want to learn how to make them yourself? Just keep reading!


What you'll need:


  • Boxed cake mix
  • Black cupcake liners
  • Green icing
  • Star decorating tip
  • Soccer ball party picks (I found mine at Party City)


All you do:


  1. Follow the directions on the box for cupcakes.
  2. Let the cupcakes cool completely.
  3. Once they are completely cooled, pipe on the icing (aka grass) using the star tip.
  4. Stick the party pick (aka soccer ball) into the cupcake.
  5. Step back and admire your work!


See, I told you they were easy. Yet they *almost* look store bought!


The only thing I would do different next time is to use chocolate cake mix instead of yellow. That way it looks like dirt underneath the "grass".


Happy weekend, Sports Mamas!


*** Update: We won 3-2 AND I just found out that my boy was chosen for the ALL STAR team!!!


*** Click HERE for my football cupcakes and HERE for my basketball cupcakes! ***

Friday, January 19, 2018

Team Mama Idea: Easy Basketball Brownies

No. 1's travel basketball team will be meeting at his Head Coach's house instead of the gym for practice tonight. The coaching staff decided to hold an evening of team bonding instead of regular practice to help them prepare for tomorrow's early morning game.


They'll be having pizza, playing games, and watching the movie Glory Road. The team has hit a bit of a rocky road these last couple of weeks, so the hope is that the extra bonding time will get them back on track.


Here's where the brownies come in...


If you're a regular to my blog, you know that I just love finding any reason to make goodies for my boys' teams! So it should come as no surprise that I volunteered to send my guys with waters, sodas, and BROWNIES. But these aren't your regular brownies, they're basketball brownies!


And here's how easy they are to make yourself!


All you need:


  • Your favorite boxed brownie mix (I used two boxes to make sure I had enough for the team AND the 3 coaches).
  • Circle shaped cookie cutter
  • Orange colored cookie icing


Here's all you do:


  1. Bake the brownies according to the directions on the box.
  2. Once the brownies are completely cooled, use the cookie cutter to cut them into circle shapes.
  3. Draw the lines on with the orange icing. I drew a line down the middle first, followed by a curved line on each side of that, and finally a horizontal line across.


That's it!


The great thing about cookie icing is that it dries super quick and once it does, the brownies are completely stackable which makes transport a breeze!


Hopefully the extra team bonding + the brownies will = a WIN tomorrow morning!


GO SYC!!!


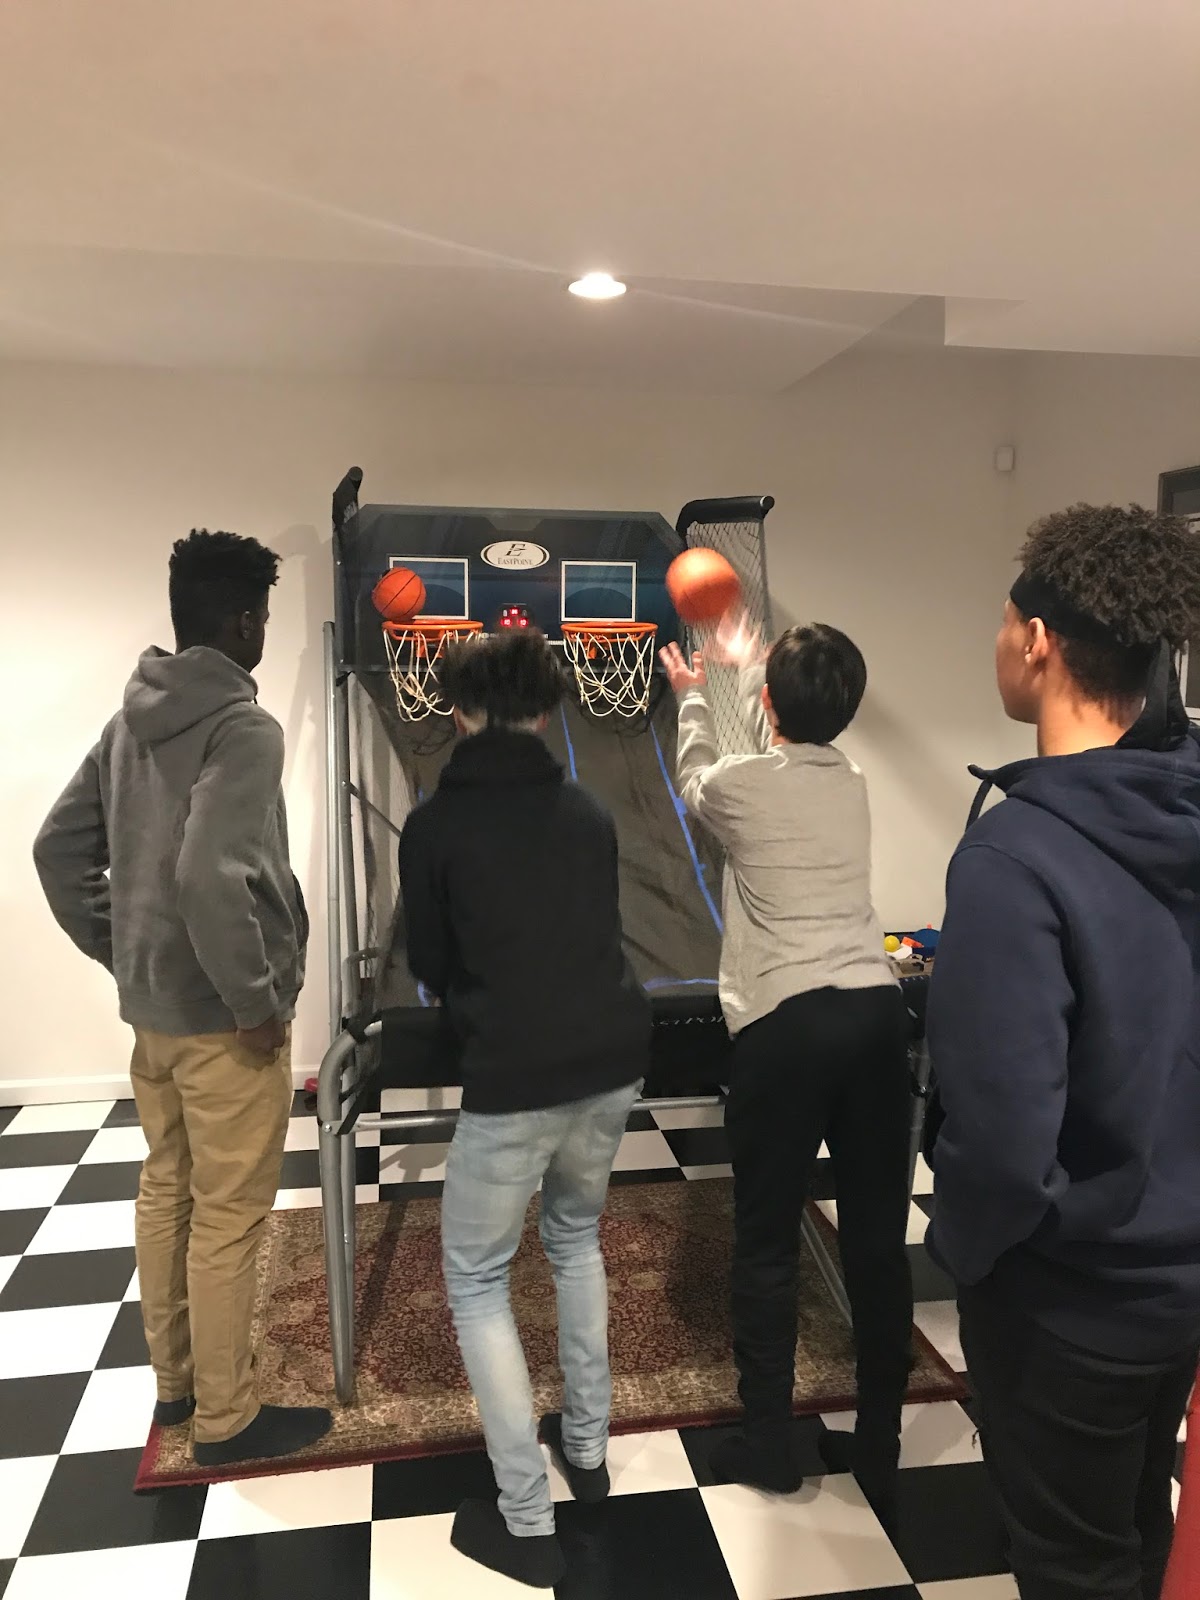
*** Coach Hubby sent me these pictures. I think it's pretty safe to say team bonding night was a success! Oh, and they ate ALL of the brownies. #winning


*** Click HERE for my football brownies! ***


Monday, August 21, 2017

Sports Mama Review: Football Ties Vinyl Nail Decals

I recently purchased football nail decals from Etsy.com. I spotted them on Pinterest last year, and had been eyeing them ever since! Shop owner  says "Do you want a salon looking manicure in the comfort of your home? Look no further! These nail decals make a cute manicure in no time! Just paint your nails the desired color, wait for them to dry, apply nail decal and add a top coat!".


For $4 you receive a sheet of 78 ties. I ordered them on a Monday, and received them two days later. Talk about fast shipping!


They came with easy to follow application instructions.


I began by painting my nails first (base coat + 2 coats of color). I made sure that they were completely dry before proceeding with the decals. I then placed one decal on each nail. A few times the positioning was off, so I had to quickly remove and reposition them. I found that using a pair of nail scissors was the easiest way to do this. Out of the four that I repositioned, only one was damaged. Once all of the decals had been placed, I sealed them with a layer of top coat.


Here is the finished product:


Seriously, how cute are they??? I received so many compliments while wearing them!


They lasted a solid three days before beginning to peel. I'm pretty sure they would have lasted longer had I applied more than one layer of top coat. It's all good with me though. I didn't plan on wearing them an entire week anyway!


I've already recommended this product to some my favorite mamas. They are definitely a product all football mamas should have in their spirit stash! I mean, have you tried drawing football laces on your nails freehand before? I have. And let me tell you, it wasn't easy!


Click HERE to order your own! 


Happy shopping!

Friday, June 16, 2017

Easy, DIY Father's Day Gift Idea

With Father's Day being just a few days away, I wanted to share this easy and inexpensive, DIY gift idea with you all.


All dads like beer, right? I mean, let's be honest. Kids will drive you to drinking sometimes! It's inevitable. So, why not give them a gift they're sure to drink love...BEER, made extra special with personalized Father's Day labels!


Here's all you need:


  • 6 pack of dad's favorite beer
  • White, printer labels (I used Avery no. 6878)


You can be as creative as you'd like when designing your labels. You could even have your child make them by hand, for even more of a personalized touch. Or, if you'd like to use mine, click HERE.


No need to waste time attempting to remove the original labels. I simply stuck mine right on top. They are the perfect fit!


That's it! An easy, thoughtful, inexpensive Father's Day gift that dad is sure to think is absolutely brewtiful!


After all, it's 5 o'clock somewhere right?


Happy (early) Father's Day!


Friday, January 6, 2017

Easy, Make Ahead Breakfast Burritos

We have 6 basketball games in 2 days. Woosah! This obviously doesn't leave a whole lot of time for cooking. SO, I'm going to be proactive and make a whole weekend's worth of breakfast burritos...yum!


I got the recipe from one of my all-time favorite football mamas. She made a whopping 30+ for an early morning game last season. How amazing is she? Everyone absolutely loved them. There was just no way I wasn't going to ask her how she made them.


Here's what you'll need:


  • Eggs (about 1-2 eggs per burrito)
  • Breakfast sausage (you can use hot sausage if you want a little heat)
  • Small onion, chopped
  • Green pepper, chopped (or a jalapeño if you like spicy)
  • Cheddar cheese, shredded
  • Tater tots, thawed (or simply microwaved a couple of minutes to soften)
  • Flour tortillas, burrito size
  • Salt and pepper, to taste


Directions:


Brown sausage in skillet. Once browned, add the chopped onions and peppers. Mix well. Then add the tater tots to the skillet, smashing them with your spoon. Let cook over low-medium heat for about 5 minutes. Add in whisked eggs (I like to add in some milk, salt, and pepper while whisking). Cook thoroughly until eggs are scrambled. Before turning off the heat, throw in some shredded cheese.


Once the filling is made, it's time to make the burritos. If you plan on serving immediately, simply place the rolled burritos in a casserole dish. If you are cooking them for make ahead breakfast like I am, wrap each burrito individually in aluminum foil. Bake in a 350 degree oven for 20 minutes, and voila! Breakfast burritos!


They can be served immediately, stored in the fridge for 2-3 days, or frozen. That's it. Easy peasy, and oh-so delicious!


Nobody better dare wake me up this weekend to tell me they're hungry!

Friday, December 16, 2016

Easy, Affordable Christmas Gift Idea for Teachers

It takes a big heart to teach little minds. This saying could not be anymore true.


My boys' teachers are always included on my Christmas shopping list, right alongside family and friends. I honestly believe that teachers are God sent. I know I couldn't do their job!


Some years, I'm feeling artsy fartsy. Other years, not so much. This was one of those "not so much" years. So, here's what I came up with.


A festive mug, tan crinkle paper aka coffee, and a Starbucks gift card. All for under $10! Score! (Gingerbread house not included...unless you wanted to gift it, of course).


What are some of your favorite easy, affordable gift ideas?

Friday, October 28, 2016

Football Cake & Cupcakes

No. 1's birthday always falls during football season (usually on a practice night). Well, this year it falls on a game day, so what better way to celebrate than with his teammates and a football cake AND cupcakes!


Here's what you'll need for the cupcakes:


  • Boxed cake mix
  • White frosting
  • Burgundy icing color
  • Gold decorating gel
  • Gold cupcake liners


I began by baking the cupcakes according to the instructions on the box. While they cooled, I worked on my frosting. I won't even lie, burgundy is a tough color to achieve! I feel like I had to use a ton of icing color, and they still didn't turn out as burgundy as I would have liked. Oh well. Once they were completely cooled, I iced and then added each player's jersey number to them.


On to the cake. Here's what you'll need:


  • Boxed cake mix
  • Chocolate frosting
  • White decorating icing
  • Football shaped cake pan


I again followed the instructions on the box, changing nothing except for the type of pan I used. I purchased a football shaped cake pan from Michaels. Don't forget to use a coupon! Oh yeah, the pan also called for a longer baking time than the box did. When the cake was completely cooled, I took a serrated knife and sliced off a tiny bit of the middle so that when I flipped it, it would be leveled. Before removing it from the pan, I took a butter knife and went around the sides to loosen it up a bit. After that, I flipped it over, gave it a bit of a pat, and out it came!


I began decorating the cake by icing it with a very thin layer of the chocolate frosting first, also known as a crumb coat. When the crumb coat was applied, I stuck the cake in the fridge to let it set. Once it was set (no longer sticky to the touch), I added the final, thicker layer of chocolate frosting. I then took the white decorating icing (which already had a piping tip attached-I love that!), and drew on the laces. That's it! It was my first attempt at a football cake, and I must say, I really like the way it came out!


It's also my turn to bring snacks to the game. For halftime fruit, I sliced several navel oranges (click HERE to see how I do it) and placed them in snack sized baggies. For post-game snacks and drinks, they will have Gatorades to help wash down the cupcakes. I also grabbed some goldfish crackers for the little siblings.


I can't wait to share them with the team tomorrow. Go Admirals!


*** Update: We won! Victory never tasted so SWEET!!!


*** Here's my most recent take on football cupcakes! I used blue liners and orange sprinkles to match our new team colors as well as chocolate icing for the "footballs" and white cookie icing for the "laces". Easy peasy and the team loved them! #WINNING


*** Click HERE for my basketball cupcakes and HERE for my soccer cupcakes! ***


Thursday, October 20, 2016

Easy Football Brownies

Yep. I'm that mama that doesn't need a special occasion to surprise the team with goodies. Today's reason...simply because it was Thursday! I wanted to venture away from the usual donuts and cupcakes, so I went with brownies. And not just any brownies, FOOTBALL BROWNIES!


Were they hard to make you ask? Nope. I don't do hard. At least not during the work/school week. I started by baking my favorite boxed brownies. I suggest using a dark chocolate version as opposed to milk chocolate for that true football brown color. Once they cooled, I cut them into squares. If you really wanted to go all out, you could cut them into footballs using a football shaped cookie cutter. Again, it was a weeknight, so I went for quick and easy.


For the laces, I used white decorating cookie icing. The great thing about cookie icing, is that it sets, making them stackable. It even came with a decorating tip attached! I drew a straight white line across the middle, and four smaller lines across that one.


And voila, (easy-peasy) football brownies!


They were a HUGE hit with the team. Super cute. And super yummy!


Sports Mama Tip: Not a baker? No worries! Store bought brownies work just the same!


Here's another fun, easy idea. 


Football rice krispie treats!!! One of my sweet (all the pun intended!) neighbors made them for us. So cute and yummy!


*** Click HERE for my basketball brownies! ***

Saturday, April 23, 2016

Energizing Banana & Oatmeal Smoothie Recipe

Hi Mamas! I'm back with another smoothie recipe for you guys.


Today was what I call a 3-in-1 day. We had a total of three (technically four, but I only made it to three because of scheduling conflicts) games. No. 2 had an 11:30am soccer game, No. 3 had a 1pm soccer game, and No. 1 had a 4:40pm basketball game. It was going to be a long day. I knew I was going to have to start my day off right, so I made a smoothie!


I went with one of my all-time favorite combos (1 banana, 1 tablespoon of peanut butter, 1 cup of almond milk), but decided to add a half cup of oats to it for a little more of a punch. I blended all of the ingredients together along with some ice until smooth. It was so rich and creamy, and incredibly filling. You could also freeze your banana ahead of time to take the place of the ice.


It was the perfect way to start my busy day. And took all of just a couple of minutes to make. You have 3 games to get to... who has time to actually COOK breakfast?


I unfortunately did not get a pic of No. 2 today. It was raining cats and dogs. My camera (and hair!) + rain = no bueno. Next time!


Adios!


Friday, April 8, 2016

Team Mama Idea: Team Spirit Nails

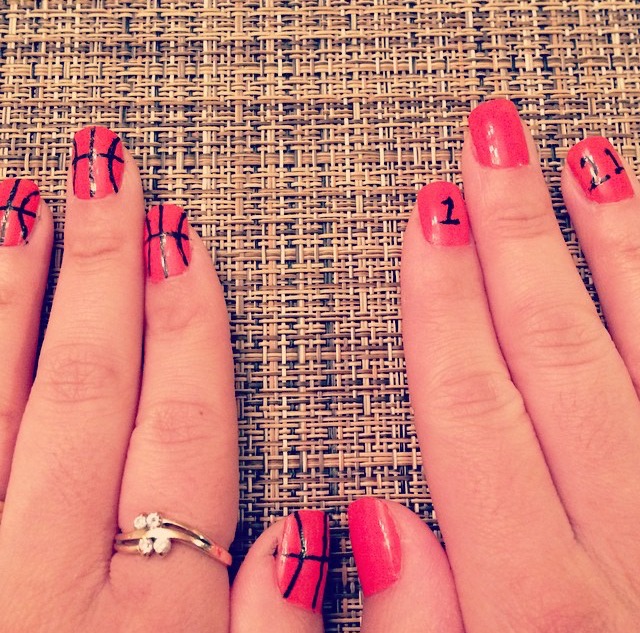
I've got spirit, yes I do. I've got spirit, how about you?! What better way to show your sports mama team spirit, than with your nails! Fun, easy, cute, and cheap. And best of all, the possibilities are endless!


Here are a few of my favorites:


Be sure to check back often for new ideas!


GO TEAM!!!